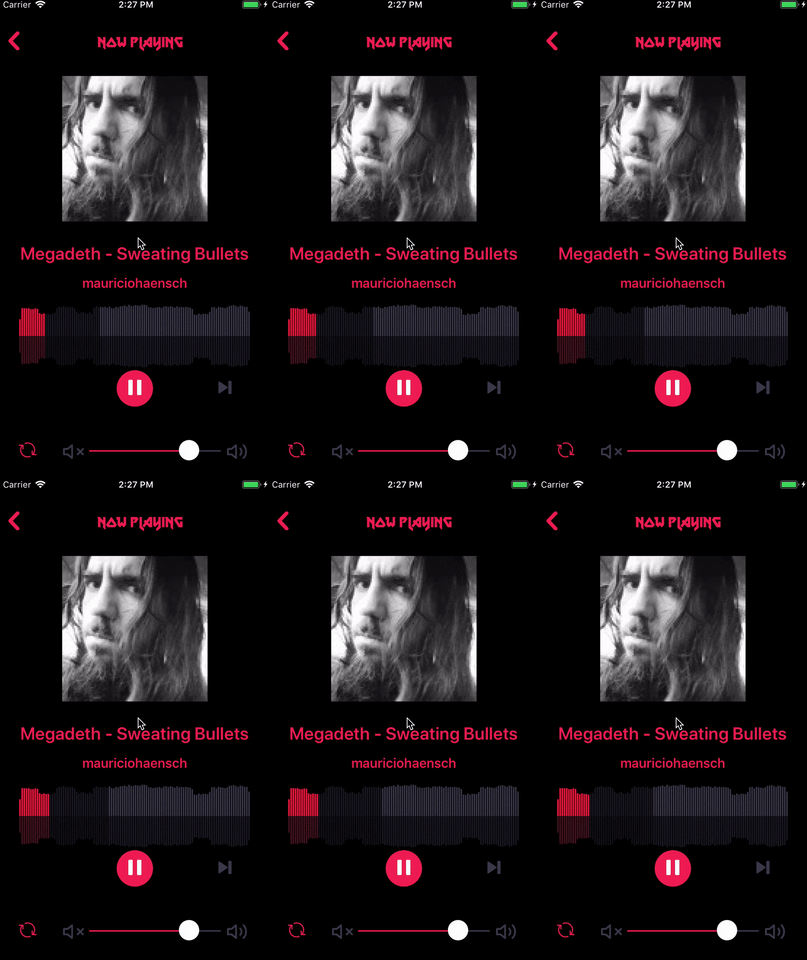
Why Should I use SoundCloud’s Waveforms?
- The SoundCloud’s waveform looks more impressive than the old boring way of showing the progress bar.
- The pre-loaded waveform will give the user an idea of the different frequencies present in the song.
- It is also much easier to show the buffered track percentage on a waveform rather than showing it on a blank progress bar.
Let’s learn more about SoundCloud’s Waveforms
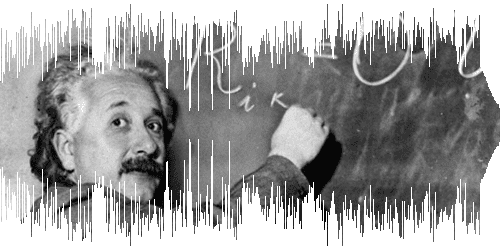
The SoundCloud provides a waveform_url in its tracks API.
- Each track has its own unique
waveform_url. - The
waveform_urlcontains a link to the image hoisted over the cloud.
Example —
As of now, every argument is static hence it is unusable in this current state. Therefore we need to re-create the waveform based on it using React Native’s containers in order to have access to the touch events, styles etc.
Getting Started
Here is a list of stuff that you will need:
First, we need the sampling of the waveform. The trick is to replace .png with
.json for the waveform_url . A GET call to it would give us a response
object that contains
- width (Width of the waveform)
- height (Height of the waveform)
- samples (Array)
For more info, you can try out the following link https://w1.sndcdn.com/PP3Eb34ToNki_m.json.
Dive into the code
Add a Custom SoundCloudWave Component
  fetch(waveformUrl.replace('png', 'json'))
     .then(res => res.json())
     .then((json) => {
       this.setState({
         waveform: json,
       });
     });
It would be better to create a custom SoundCloudWave component that can be
used in multiple places as required. Here are the required props:
- waveformUrl — The URL object to the waveform (accessible through the Tracks API)
- height — Height of the waveform
- width — Width of the waveform component
- percentPlayable — The duration of the track buffered in seconds
- percentPlayed — The duration of the track played in seconds
- setTime — The callback handler to change the current track time.
Get the samples
  const scaleLinearHeight = scaleLinear().domain([0, waveform.height]).range([0, height]);
  const chunks = _.chunk(waveform.samples, waveform.width / ((width - 60) / 3));
  return (
    <View style={[{
      height,
      width,
      justifyContent: 'center',
      flexDirection: 'row',
    },
    inverse && {
      transform: [
        { rotateX: '180deg' },
        { rotateY: '0deg' },
      ],
    },
    ]}
    >
      {chunks.map((chunk, i) => (
        <TouchableOpacity
          key={i}
          onPress={() => {
            setTime(i);
          }}
        >
          <View style={{
            backgroundColor: getColor(
              chunks,
              i,
              percentPlayed,
              percentPlayable,
              inverse,
              active,
              activeInverse,
              activePlayable,
              activePlayableInverse,
              inactive,
              inactiveInverse,
            ),
            width: 2,
            marginRight: 1,
            height: scaleLinearHeight(mean(chunk)),
          }}
          />
        </TouchableOpacity>
      ))}
    </View>
  );
Get the samples by using a simple GET API call and store the result in the
state.
Create a Waveform Component
  <View style={{ flex: 1, justifyContent: 'center' }}>
    <Waveform
      waveform={waveform}
      height={height}
      width={width}
      setTime={setTime}
      percentPlayed={percentPlayed}
      percentPlayable={percentPlayable}
      active={active}
      activeInverse={activeInverse}
      activePlayable={activePlayable}
      activePlayableInverse={activePlayableInverse}
      inactive={inactive}
      inactiveInverse={inactiveInverse}
      inverse
    />
    <Waveform
      waveform={waveform}
      height={height}
      width={width}
      setTime={setTime}
      percentPlayed={percentPlayed}
      percentPlayable={percentPlayable}
      active={active}
      activeInverse={activeInverse}
      activePlayable={activePlayable}
      activePlayableInverse={activePlayableInverse}
      inactive={inactive}
      inactiveInverse={inactiveInverse}
      inverse={false}
    />
  </View>
The Waveform Component works as:
- The Chunks split the
samplesobject based on thewidththat the user wants to render on the screen. - The Chunks are then mapped into a
Touchableevent. The styles aswidth:2andheight: scaleLinearHeight(mean(chunk)). This generates themeanfrom thed3-array. - The
backgroundColoris being passed as a method with different parameters to thegetColormethod. This will then determine the color to return based on the conditions set. - The
Touchable onPressevent will call the custom handler passed into it, to set the new seek time of the track.
Now this stateless component can be rendered to your child component as:
  <SoundCloudWaveform
    waveformUrl={track.waveform_url}
    percentPlayable={playableTime}
    percentPlayed={currentTime)}
    setTime={this.setTime}
   />
Here one of the waveform component is original and one inverted as in the SoundCloud’s player.

Conclusion
Here are the links to the package


